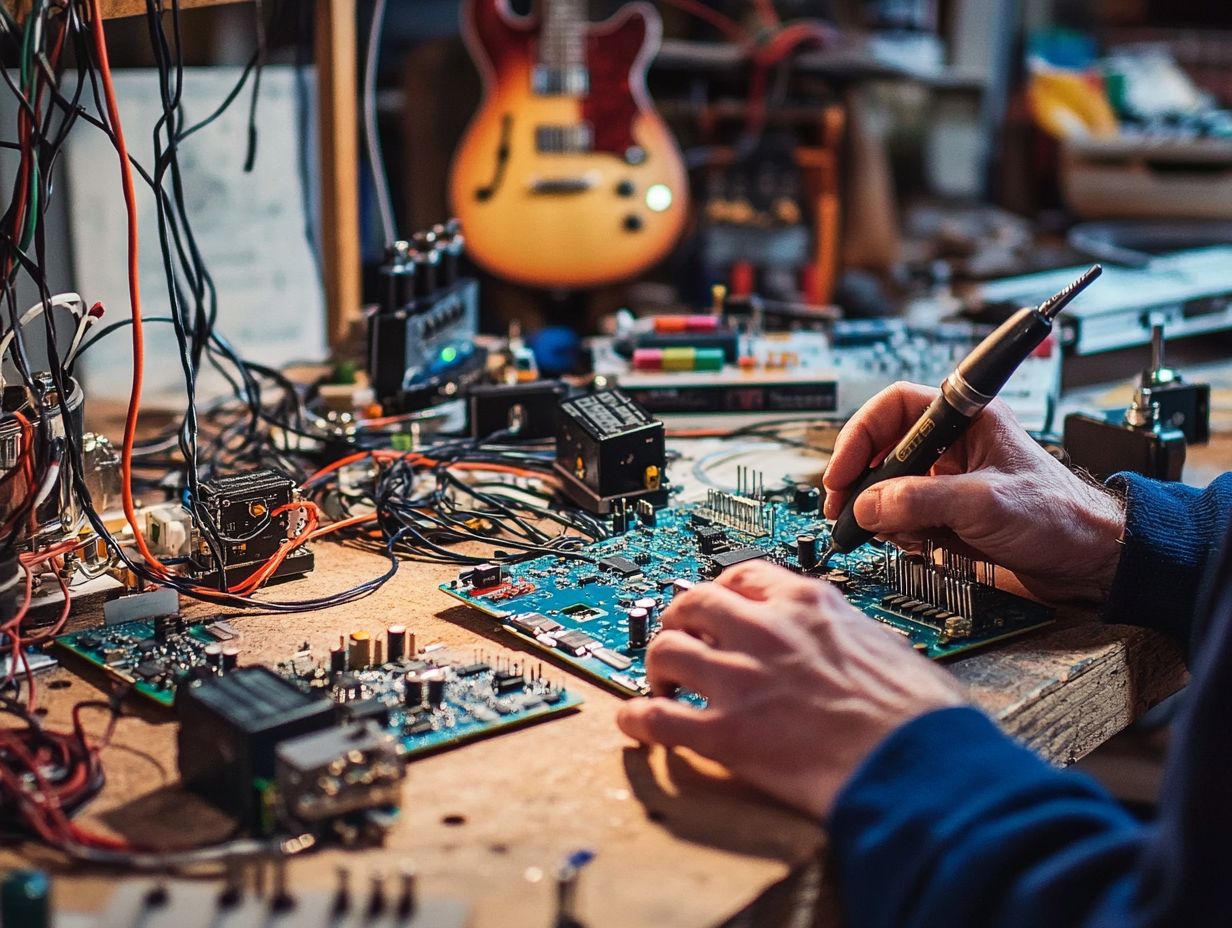
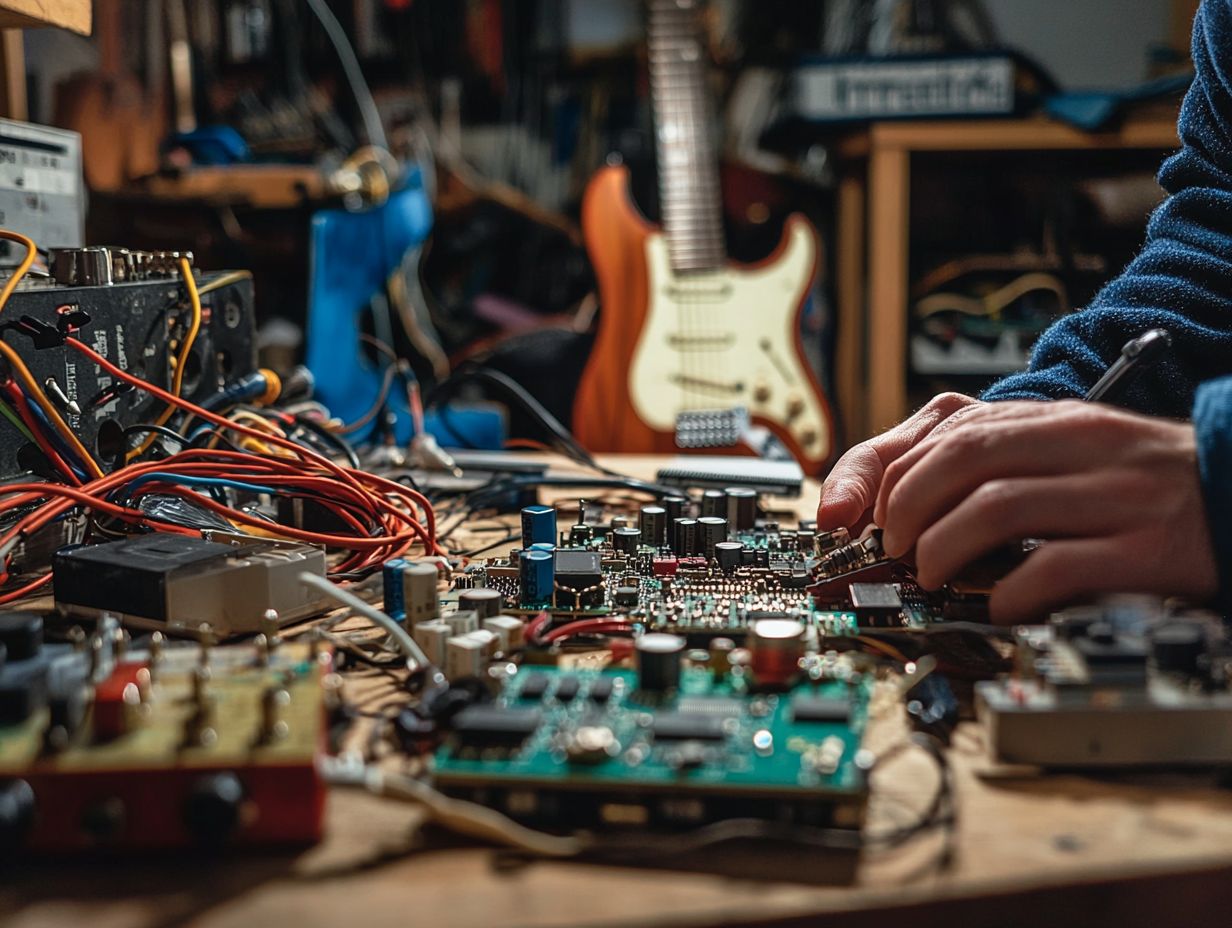
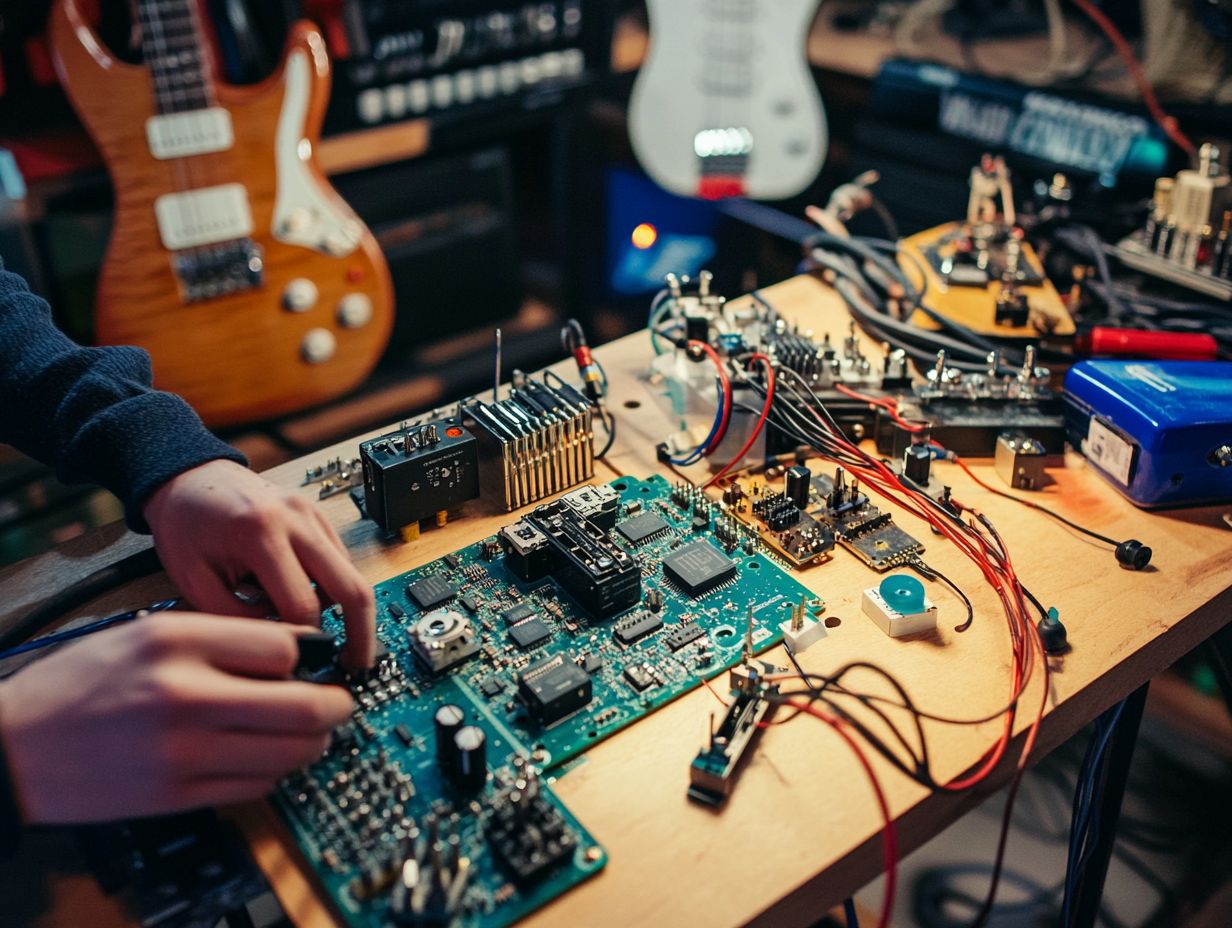
Building your own guitar pedal can be an exciting and rewarding experience, as it allows you to customize your sound and explore the realms of sound engineering while gaining a deeper understanding of your instrument. This DIY guide covers the essential tools and materials needed for your DIY project, including a schematic and layout, along with a step-by-step process to ensure a smooth construction. You will discover ways to personalize your pedal through customization and craftsmanship, troubleshoot common problems, and follow safety precautions to maintain a secure workspace. Whether you are a seasoned musician or a creative novice, this guide serves as your roadmap to crafting a unique addition to your guitar rig and exploring the world of effects units.
Why Build Your Own Guitar Pedal?

Building your own guitar pedal is more than just an electronics project; it represents a unique blend of creativity and technical skill in sound design that enables musicians to personalize their sound. By engaging in the DIY process, you become part of a vibrant community that values artistic expression and sound innovation, often sharing insights through tutorials and online resources.
As you experiment with capacitors, resistors, diodes, and various components, you can customize your effects units to achieve those elusive tones that resonate with your musical identity. This hands-on approach not only enhances your technical knowledge, making you proficient in electronics and sound manipulation, but it also gives you the power to explore uncharted sonic territories through creative projects and prototyping.
Each pedal serves as a canvas for experimentation, allowing you to implement unique designs and modifications, such as modulation or delay, that reflect your personal preferences. The sense of accomplishment that comes from crafting gear that is truly your own is unparalleled, transforming your performance and enriching the soundscape of the DIY music scene and the larger DIY culture.
Tools and Materials Needed
The tools and materials required to build a custom guitar pedal are fundamental to this electronics project, including prototyping on a breadboard. As with any electronics endeavor, essential tools include a soldering iron and wires:
- a soldering iron
- wire cutters
- a multimeter
Common materials for constructing the pedal’s circuitry and PCB consist of:
- circuit boards
- resistors
- capacitors
- potentiometers
- switches
Additionally, the enclosure, including jacks and footswitch, is a crucial element, providing both physical protection and an avenue for personal expression. The design of the enclosure can impact the pedal’s acoustics and aesthetics, so it is important to choose one that is suitable.
Understanding the role of each tool and component, as well as their effects on the signal path and frequency response, is vital to ensuring that the project achieves the desired sound quality.
Essential Equipment for DIY Guitar Pedal Building

The essential equipment for DIY guitar pedal building includes tools that facilitate the construction process and ensure reliable performance, accommodating both analog and digital effects.
A soldering iron is a crucial part of this equipment, as it is used to create connections between electrical components, enabling the circuit to function as intended and adhere to industry standards. A good multimeter is also beneficial; it can check for continuity and proper voltage levels, aiding in diagnosing any problems that may arise during assembly and testing.
Enclosures are important for protecting the circuitry from physical and environmental damage. Potentiometers, or volume controls, allow users to adjust tone and volume, impacting the overall sound and gain.
Having a well-stocked toolkit and a solid understanding of each component’s function will contribute to a successful process when building a unique and high-performing pedal tailored to the player’s needs and preferences in tone control.
Step-by-Step Guide to Building a Guitar Pedal
Building your own guitar pedal is a fun and rewarding project, blending creativity in music with technical skills. By following a detailed step-by-step guide, you can avoid many common pitfalls associated with circuit design, wiring, and sound experimentation. This guide will walk you through all the necessary steps to assemble your pedal, starting from the planning stage where you decide the type of pedal you want, such as distortion, overdrive, or reverb, all the way to the finishing touches that will impact the sound quality of your final product.
One of the most crucial steps in the building process is grounding your pedal’s circuit, and this guide will demonstrate how to do it correctly, ensuring optimal signal processing. It will also cover the proper placement and soldering of components such as resistors, capacitors, and transistors, as well as connecting the circuit to the power supply and effects loop.
The step-by-step instructions are essential; even with a basic understanding of electronics, circuit design and impedance management can be complex and challenging to master. By closely following the instructions, you will ensure that your custom build functions properly and meets your sound quality and audio signal requirements.
Instructions and Tips for Successful Construction

The success of your guitar pedal construction depends not only on following the step-by-step instructions but also on implementing best practices and tips that enhance both efficiency and sound quality, such as using a circuit diagram.
Choosing high-quality components significantly impacts the final product, as inferior components can introduce unwanted distortion and diminish performance, affecting the pedalboard setup.
Employing good soldering practices is essential for creating strong connections, which directly affect signal integrity and the output quality.
Additionally, familiarizing yourself with common troubleshooting techniques—such as identifying cold solder joints, verifying layout accuracy, and ensuring adequate power regulation—can be beneficial.
By applying these methods, builders can minimize the likelihood of mistakes and enhance the final product, resulting in a pedal that is both efficient and capable of producing rich, vibrant sound output suitable for various music styles.
Customizing Your Guitar Pedal
Modifying guitar effects pedals is where true artistry and sound manipulation come into play, as these changes enhance tone control and reflect individual style.
The possibilities for modifying a guitar pedal are virtually limitless, encompassing adjustments to audio effects such as distortion, overdrive, fuzz, delay, and reverb, as well as the addition of unique components commonly found in boutique pedals.
Modifications can involve altering the power supply, adding LED indicators, adjusting parameters, or swapping out capacitors to influence frequency response and harmonics, among other alterations.
Each of these decisions can significantly impact the final sound, enhancing performance and personalizing the instrument to suit the player’s preferences and creativity.
Adding Personal Touches and Modifications

Personalizing and modifying your guitar pedal not only enhances its performance but also serves as a canvas for your creativity and craftsmanship skills.
By choosing bright colors or unique textures for the pedal’s finish, you can create a signature look that makes your pedal easy to identify on stage, contributing to your music’s aesthetics. In terms of craftsmanship, experimenting with different circuit configurations—such as adding capacitors or resistors in various locations, prototyping on a breadboard, or even designing a custom circuit board—can lead to new sound manipulation possibilities.
These adjustments can help you achieve a stronger distortion, a smoother overdrive, refined tonal characteristics, or enhanced feedback, ultimately improving sound quality and providing a more personalized audio experience.
The process of customizing a pedal is an enriching experience that deepens the guitarist’s connection to the instrument, blending art and craft to create a distinctive representation of their musical personality and user experience.
Troubleshooting and Maintenance
In your electronics project, you will learn how to troubleshoot and maintain your guitar pedal to maximize its performance and reliability over time, incorporating sound quality testing techniques.
It is essential to diagnose common issues, such as inconsistent sound output, unwanted noise, and component failures, as early as possible to prevent disruptions during music production. Regular maintenance, including cleaning the contacts, checking for grounding issues, and verifying signal chain integrity, will help ensure that your pedal functions properly.
This, in turn, allows you to focus on the music production process or home studio recordings without unnecessary interruptions.
Common Issues and How to Fix Them
Common issues encountered when building, using, and troubleshooting guitar pedals include a lack of signal, distortion artifacts, inconsistent audio effects, and impedance mismatches. These problems are often the result of faulty components, incorrect wiring, or improper soldering techniques.
To address these challenges, it is essential to troubleshoot by testing resistors, checking solder joints, verifying power supply connections, and examining the circuit diagram, ensuring there are no underlying issues in the build that could impede the desired sound manipulation.
In the troubleshooting sections of many pedal builds, you will frequently find information regarding grounding issues. Proper grounding is crucial to prevent noise and interference from affecting the output, especially in a pedalboard setup. It is also important to thoroughly inspect connectors, input jacks, and output connections, as loose connections are often the source of signal loss.
Additionally, a messy layout during construction can lead to unintended short circuits and compromised audio signal clarity.
Utilizing quality components and adopting a methodical approach to testing—such as using an audio probe to trace the signal flow—can significantly enhance the clarity and reliability of sound produced by your pedal, aligning with industry standards.
Safety Precautions
Safety precautions are crucial when building your guitar pedal to prevent electrical hazards and ensure a safe working environment, as outlined in assembly instructions.
Employing proper soldering techniques, grounding methods, and adherence to manufacturing guidelines can help mitigate the risks associated with working with electronics. Always work in a well-ventilated area, wear appropriate protective equipment, ensure that your power supply is properly isolated, and follow craftsmanship safety protocols before beginning assembly.
By following these recommendations, you can enjoy the process of building your pedal while minimizing potential dangers, fostering a safe and productive DIY environment.
Important Considerations for Safe Building
When building guitar pedals, several major considerations for safe construction should be kept in mind, such as adhering to electrical engineering principles:
- Master Soldering: Soldering is the most hazardous aspect of the DIY pedal-building process. Poor soldering practices can result in short circuits that may damage the pedal and other electronics, such as resistors, capacitors, and diodes.
- Use a Well-Ventilated Area: Soldering fumes can be harmful if inhaled for extended periods, so it is essential to work in a well-ventilated space, especially when dealing with various components like potentiometers and jacks.
- Protect Yourself: Wearing goggles can safeguard your eyes from solder and debris, while gloves can help prevent burns and cuts from sharp components. Additionally, using tools like a multimeter and soldering iron with care is crucial for safety.
Safety is paramount not only for the builder but also for ensuring the integrity of the project. A well-executed build can enhance the sound quality and performance of audio effects such as distortion, overdrive, and reverb. Understanding the schematic and layout is crucial for successful assembly and troubleshooting.


