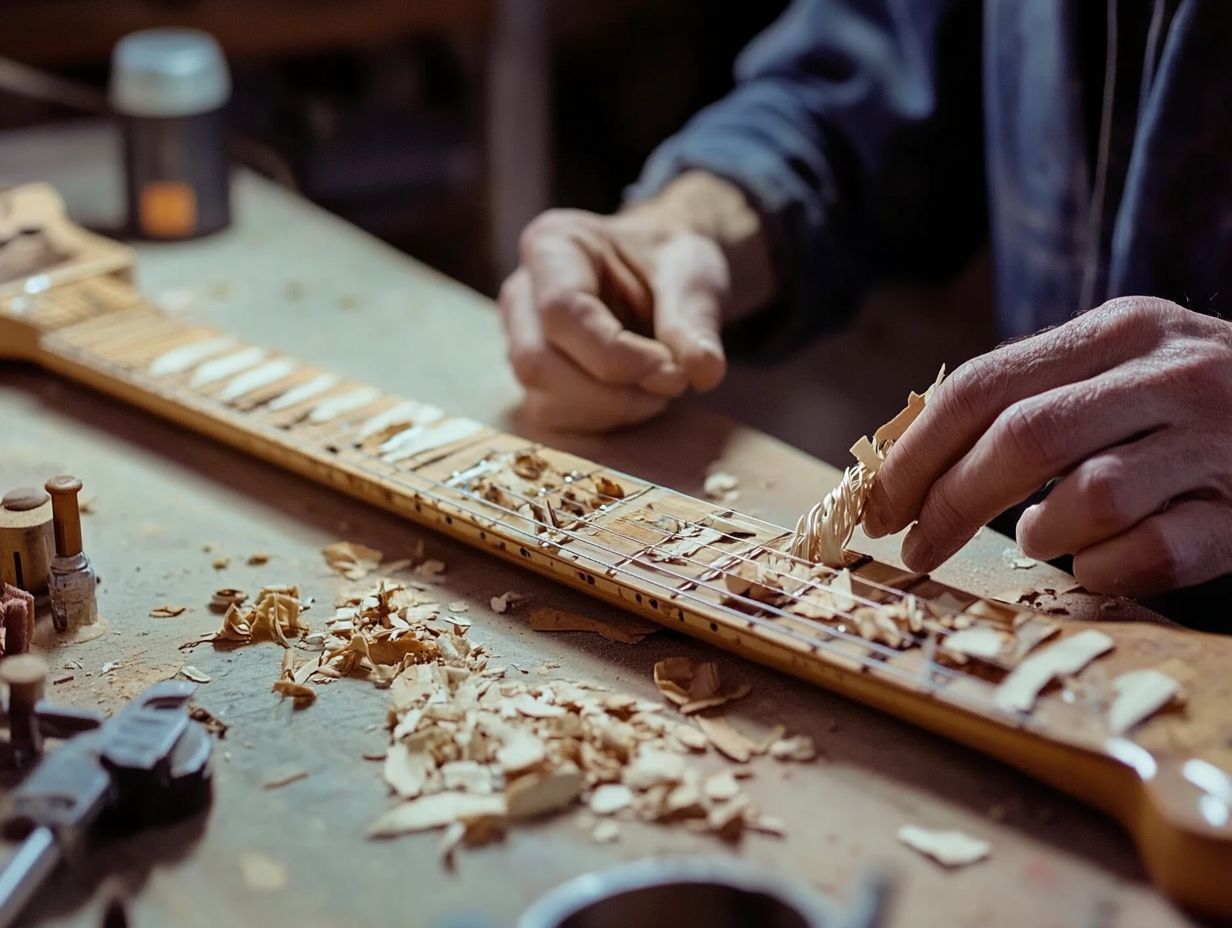
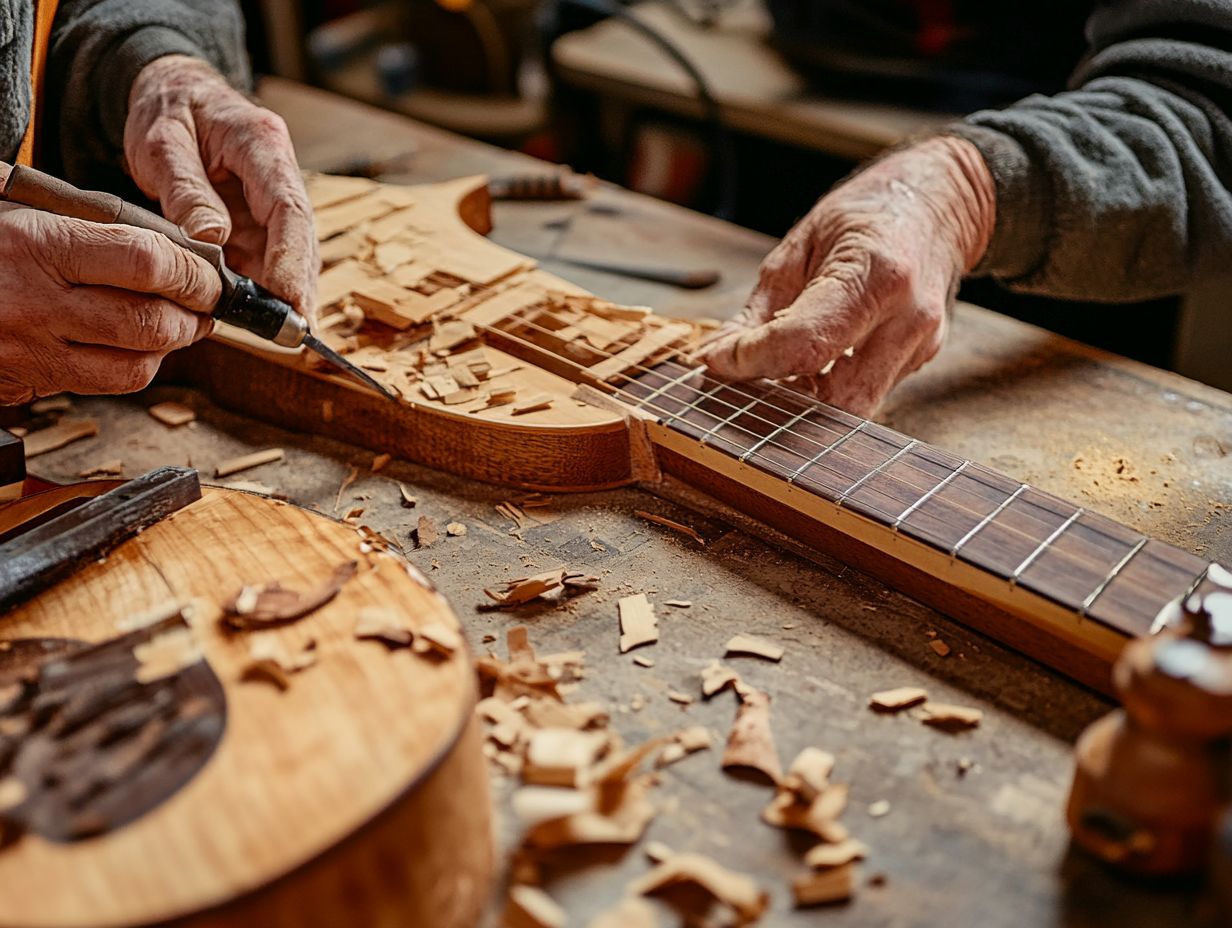
Refretting a guitar can breathe new life into your beloved instrument, enhancing playability, tone, and sound quality, thereby improving the overall performance and durability of the instrument.
Whether your frets are worn down or you’re seeking a different feel, this DIY guide will walk you through the entire process, ensuring precision and comfort.
From essential tools and materials to a detailed, step-by-step approach, you’ll gain the confidence to tackle refretting on your own, enhancing your woodworking and craftsmanship skills.
Plus, tips to avoid common pitfalls and ensure a smooth finish will be shared, helping you master techniques such as sanding, leveling, crowning, and polishing.
Get ready to enjoy your newly refretted guitar!
What is Refretting and Why is it Necessary?

Refretting is the process of replacing the worn frets on a guitar’s fretboard with new fret wire, aimed at restoring the instrument’s playability and sound quality. This maintenance task is crucial for enhancing a guitar’s craftsmanship, acoustics, and comfort for players. The refretting process often includes leveling, which involves reshaping the frets to compensate for any uneven wear, and crowning to refine the precision of the fretboard. These steps are performed together to achieve optimal results.
In an era when large-scale guitar manufacturing has become a global business, companies like Gibson and Fender have established themselves as leaders in the industry, setting standards for quality instruments. However, as electric guitars have gained popularity, acoustic guitar sales have declined, leading to a drop in craftsmanship. Refretting serves as an essential maintenance task that can help restore this craftsmanship.
The frets are the thin pieces of metal embedded in the fretboard that enable the guitar to produce musical notes by creating a vibrating length of string. With regular use, these frets can wear down, causing intonation problems, action issues, and incorrect string heights—all of which significantly affect the playability of both electric and acoustic guitars. When done correctly, refretting helps preserve the guitar’s vintage value and allows both beginner and advanced players to enjoy the instrument at its best.
Refretting does not have to be a complex or costly process. In most cases, it involves simply replacing the old fret wire with new material. While refretting can be as straightforward as removing the old strings and installing new ones, it may sometimes require the complete removal and replacement of the fretboard. The entire process typically takes one to two hours, with costs ranging from $50 to $125, depending on the type of fret used and the time needed to complete the work.
To determine when your guitar needs to be refretted, look for signs of wear. Fret wear is typically assessed by examining the strings. If you notice loose or damaged frets, or if the sound produced when a note is played is inconsistent, it may be time to replace the fret wire. Visible indentations on the frets also indicate that a replacement is necessary. If you hear buzzing or other unusual noises from the instrument, it could signify loose frets. Additionally, if notes produce a dull thud, replacing the fret wire should be considered. If intonation issues arise, it’s essential to undergo refretting.
While refretting can be a time-consuming and potentially expensive process, it is a vital aspect of guitar maintenance that ensures sound quality and playability.
Tools and Materials Needed
Tools and materials are crucial for a successful refretting project, as they ensure precision and safety throughout the process. A well-equipped workshop with a sturdy workbench provides a stable surface for completing the project, facilitating the cutting, shaping, and alignment of the frets.
Common hand tools used in refretting include precision tools such as:
- Understanding the fretboard radius and its impact on playability
- Files for refining the fret edges and ensuring accurate crowning and polishing
- Soldering tools for any necessary electrical adjustments
- Fret pullers for the careful removal of old frets
These tools are essential for the precise removal of old frets, soldering of new frets, and installation of new frets. Power tools, often employed for sanding and leveling the fretboard, can also be valuable during the refretting process.
Additionally, safety equipment such as goggles and dust masks is important for protecting against dust and debris generated during the work. Having the right luthier materials and tools, including measuring gauges for accurate measurements, significantly contributes to the success of a refretting project.
Essential Equipment for Refretting

To successfully perform a refret, it is essential to have various specialized tools, including clamps, fret wire, sanding tools, and adhesives for securing the new frets to the fretboard. Each tool plays a vital role in ensuring that the replacement frets fit perfectly in the slots while maintaining the guitar’s overall aesthetic, functionality, and ergonomics.
A proper understanding of the fretboard radius is crucial for selecting the correct fret wire and achieving an ergonomic feel when playing the instrument. With the right equipment, even beginners can approach the refretting process with confidence.
Clamps are particularly important for holding the fretboard in place during the installation of new frets, preventing any movement that could lead to gaps or misalignment. The quality of the fret wire significantly influences playability, so it is important to choose a type that aligns with both the player’s style and the guitar’s existing setup.
Sanding tools are necessary to achieve a smooth finish and ensure that the frets are properly leveled, which helps prevent buzzing and enhances sustain and intonation. Additionally, selecting the right adhesive is essential for longevity; a strong yet flexible glue can secure the frets without compromising the natural vibration of the strings.
By investing in quality tools and following best practices, anyone can improve their refretting skills and maintain their instrument’s performance, ensuring long-term care and tuning stability.
Step-by-Step Guide to Refretting
A guitar refretting tutorial serves as a valuable resource, offering a step-by-step guide for experienced luthiers embarking on a refretting project. This delicate process, when executed correctly, can significantly enhance the instrument’s playability, sound quality, and aesthetics.
Successful refretting relies on proper planning, preparation, and execution. Tutorials typically provide essential information on techniques and troubleshooting:
- Assessing the condition of the frets and the neck
- Determining whether the guitar features inlaid side dots
- Selecting the appropriate fret wire, considering the string gauge and action
- Deciding if a binding replacement is necessary to maintain the design and aesthetics
They also discuss the necessary fretting tools, templates, and jigs, along with proper techniques for measuring fret tang, neck relief, and fret height. The insights gained from a refretting tutorial can guide both beginners and advanced luthiers, ensuring a smooth refretting process and enhancing artistry and customization.
Preparing the Guitar

Guitar preparation is a crucial step in the refretting process, ensuring that the instrument is in optimal condition for maintenance and setup. This preparation involves checking key parameters such as neck relief, action, and intonation, all of which will influence the performance, sound quality, and comfort of the new frets once they are installed.
To begin, the fretboard must be cleaned to create a smooth surface for the new frets, enhancing overall comfort and playability for the musician. Proper planning and execution during this stage can lead to a more successful refretting process.
To accurately assess the neck relief, the musician should evaluate the curvature of the neck. This is accomplished by placing a capo on the first fret and pressing down on the last fret, which creates a gap at the eighth fret that can be measured with a feeler gauge. Ideal neck relief allows for slight buzzing while still ensuring playability.
Checking the action is equally important, as it involves measuring the string height at the 12th fret to ensure it meets the musician’s personal preferences, thus optimizing playability and sound.
Additionally, cleaning the fretboard is vital. This is achieved by carefully applying a fretboard conditioner to remove grime and polish the wood, preparing the surface for the new frets and promoting the long-term care of the instrument.
By thoroughly following these steps, musicians can establish a solid foundation for a successful refret, maintaining the instrument’s craftsmanship and tuning.
Removing the Old Frets
Removing old frets is a delicate process that requires precision and the right tools to avoid damaging the fretboard. Specialized tools, such as a fret puller, assist luthiers in carefully lifting frets without harming the wood. To minimize damage, proper techniques should be employed, including evaluating the fret tang and using heat to soften any adhesives that may have been used. An effective removal process helps maintain the integrity and design of the fretboard and sets the stage for successful refretting and fret installation.
When removing frets, it is crucial to familiarize yourself with the condition of the fretboard. Begin by assessing the wear on the frets and the general state of the wood to determine the best approach. Before removing the frets, protect the fretboard by using painter’s tape to cover the surrounding areas, which safeguards them from scratches during the process.
Next, use the fret puller to carefully lift the frets, applying even pressure while monitoring for any signs of wood splintering. If you encounter any resistance, this may indicate the need for heat; using a soldering iron or heat gun in measured doses can soften the glue without damaging the wood.
Throughout this careful removal process, it is essential to watch for potential damage, such as chipping or lifting of the fretboard, which could hinder successful refretting.
Installing the New Frets

Installing new frets involves carefully slotting them into the prepared fretboard to ensure a snug and comfortable fit. Accurate measurements of the fret tang and fretboard radius are crucial during the installation process, as they directly impact the quality of the fit and function. The use of clamps and adhesive at this stage can help secure the frets while ensuring they are properly leveled and crowned, which is essential for maintaining the sound, playability, and intonation of the guitar.
To install the frets, follow these steps:
- Gather Necessary Tools: Essential tools for this process include a fret slotting saw, fret tang nippers, chisels, a reliable ruler for precise measurements, and precision tools like a radius block for shaping.
- Measure and Slot: Begin by carefully measuring and marking the positions for the fret slots based on the scale length of the instrument. Next, use the fret slotting saw or fret tang nippers to make neat cuts, ensuring that each slot is deep enough to accommodate the tang.
- Level and Align: This step is critical. After placing the frets in their slots, make sure they are level and properly aligned; otherwise, buzzing may occur during play.
Common mistakes during the fret replacement process include:
- Rushing the Slotting Process: This can lead to uneven slots.
- Not Clamping Properly: Failure to clamp adequately can cause the frets to loosen and shift over time.
Taking the time to execute each step of the installation process correctly will not only enhance the quality of the instrument but also significantly improve the player’s experience.
Finishing Touches
The finishing touches in a refretting project are crucial for not only achieving optimal playability but also enhancing the aesthetic appeal of the guitar. This stage typically involves sanding and polishing the frets and fretboard to create smooth and comfortable surfaces for the player’s fingers. Using a fine file can help in the detailing and precision required for fret dressing.
Adding aesthetic elements such as fret markers and binding can significantly improve the overall craftsmanship of the instrument. These finishing touches also contribute to the guitar’s sound projection and resonance.
The sanding process is essential for eliminating any imperfections that could hinder the player’s experience, ensuring a smooth glide across the strings. Polishing the frets adds a shine to the instrument and reduces fret wear over time, which is particularly important for musicians who play frequently. The use of a compressor during the polishing phase can enhance the quality and durability of the finish.
By combining functionality and visual appeal, these finishing touches can greatly enhance a player’s connection with their guitar.
Tips for a Successful Refret: A Guide for Precision and Comfort
A successful refret requires not only skill but also an understanding of common mistakes, effective troubleshooting methods, and the right materials such as high-quality fret wire and appropriate string gauge for optimal performance.
With the right tips and guidance, both novice and advanced luthiers can navigate the complexities of guitar maintenance more effectively.
Key considerations include taking accurate measurements, exercising patience throughout the process, and ensuring that proper techniques are applied at every stage of the refretting project.
The importance of project planning is a recurring theme in discussions about successfully completing a refret.
Common Mistakes to Avoid
Some of the most common mistakes made during the refretting process include incorrect measurements, improper fret installation, inadequate neck relief, and neglecting the setup of the nut and bridge, all of which can negatively impact the playability and sound of the instrument.
By understanding these frequent issues, we can troubleshoot their occurrence and increase the likelihood of a successful refretting. Incorporating proper planning and attention to detail will significantly reduce the chances of these problems arising.
Failing to carefully consider the materials used for the frets, such as choosing between maple, rosewood, or ebony for fretboards, can result in unexpected wear and tear. It is crucial to choose high-quality fret wire that suits both the player’s style and the instrument’s requirements.
Additionally, maintaining proper humidity levels can help prevent wood warping, a common mistake that can create future complications. By avoiding these errors and adhering to best practices, we can enhance not only the longevity of the instrument but also the enjoyment and satisfaction of the player.
Awareness and preparation are essential for achieving the best results in the refretting process.
Enjoying Your Newly Refretted Guitar
The greatest advantage of getting your guitar refretted is the ability to enjoy the instrument for many years to come. Refretted guitars provide enhanced playability, improved sound quality, and the opportunity for customization and personalization, allowing players to make the instrument more personal. This is especially beneficial for both acoustic and electric guitars, enhancing their tone and sustain.
The tactile comfort of a refretted guitar fosters creative expression and enhances the enjoyment of the music-making process. To maximize the longevity and durability of a newly refretted guitar, proper care and maintenance are essential.
Regular cleaning is important for ensuring a high level of enjoyment; wiping down the strings and fretboard after each use helps remove sweat and oils from the hands. Additionally, using a fretboard conditioner every few months can prevent the wood from drying out and cracking. This care routine is crucial for maintaining the aesthetics and craftsmanship of the instrument.
Maintaining proper humidity in the storage environment is crucial to prevent warping or other damage. Musicians should also pay attention to any changes in sound, tone, or feel while playing and consult a professional or a skilled luthier whenever adjustments or repairs are necessary.


